Why would you want to grow your own fish at home? Well, for many reasons, not the least of which is the difficulty in buying good, clean fish to eat.
Although Tilpia are a wonderfully healthy food, the majority of fish that you can buy at a store are full of hormones, preservatives and sometimes antibiotics. Large-scale fish farms have to use all of the above to sustain a more profitable operation. As fingerlings, tilapias are ‘sexed’ with hormones to prevent territoriality & mating, which would take away from the goal of quickly growing fat fish. By growing my own fish, I can buy ‘unsexed’ fingerlings, and feed them high quality, clean, organic food – while in a non-contaminated environment.
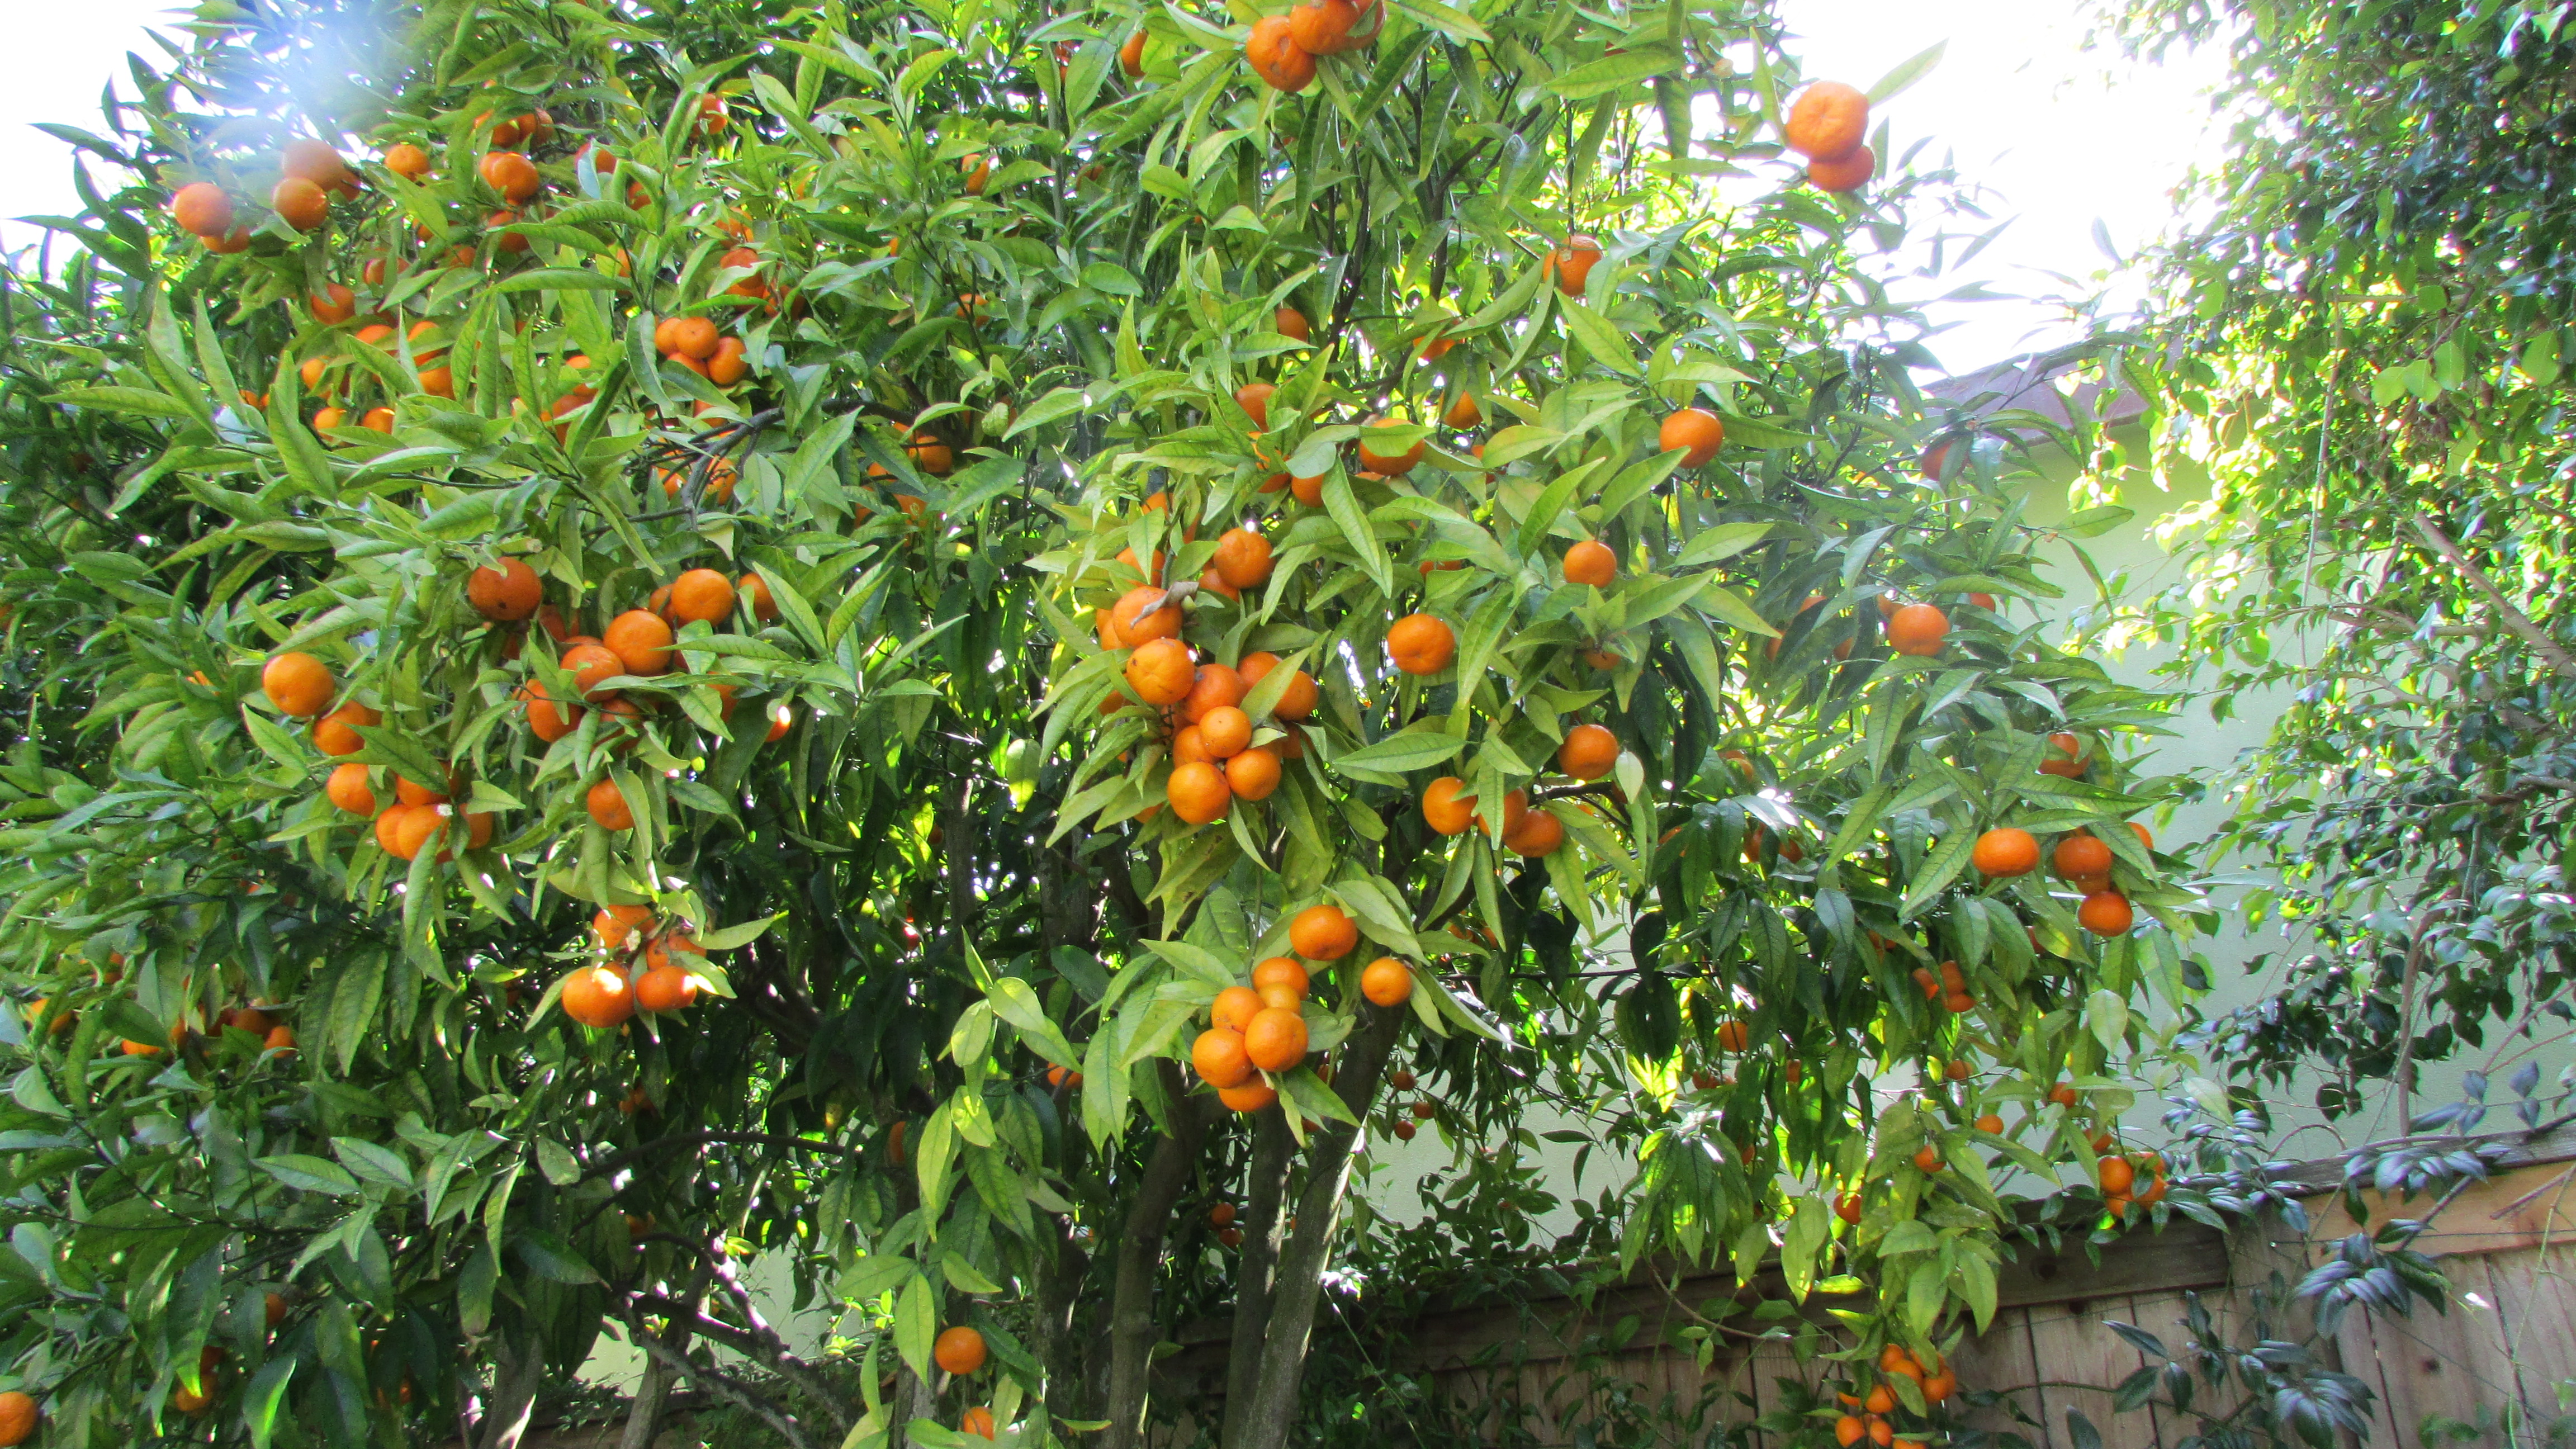
Another great reason to grow your own tilapia is the fish water, which I personally use to water my fruit trees (to great effect)
In order to grow your own tilapia you will need the following:
1) A 265 Gallon Tote
2) Tilapia seedlings
3) Reverse ozmosis water filter (depending on the quality of your water source …I use Omnipure k2533 JJ ‘Chlorine taste and odor reduction’ from grosite.net
4) Sufficient heating power to maintain the water 80-82 degrees Faranheight …I use a finnex HC810M temperature control heater + 800 watt titanium heating tube and a concurrently a backup 500 watt submersible aquarium heater.
5) 2+ Air pumps, rated together for 5ft depth and the volume of water being used (it says on the units) …I use two Petco AC9904 Pumps
6) 4+ Aerators (for the pumps), large and heavy enough stones to drop to the bottom of the tank. (can be purchased from an aquaponics store)
7) 2 testing kits: 1. For the chlorine in the water 2. To measure the ammonia in the water (both should be close to zero, and can be purchased at a swimming pool supply store).
8) Floating fish feeding ring
9) Good quality, organic pellet fish feed …I use Chengro Organic Koi food for my fish and floaters, fromyourfishstuff for my fingelings
10) ‘Kiddie’ pool (optional to grow duckwheat)
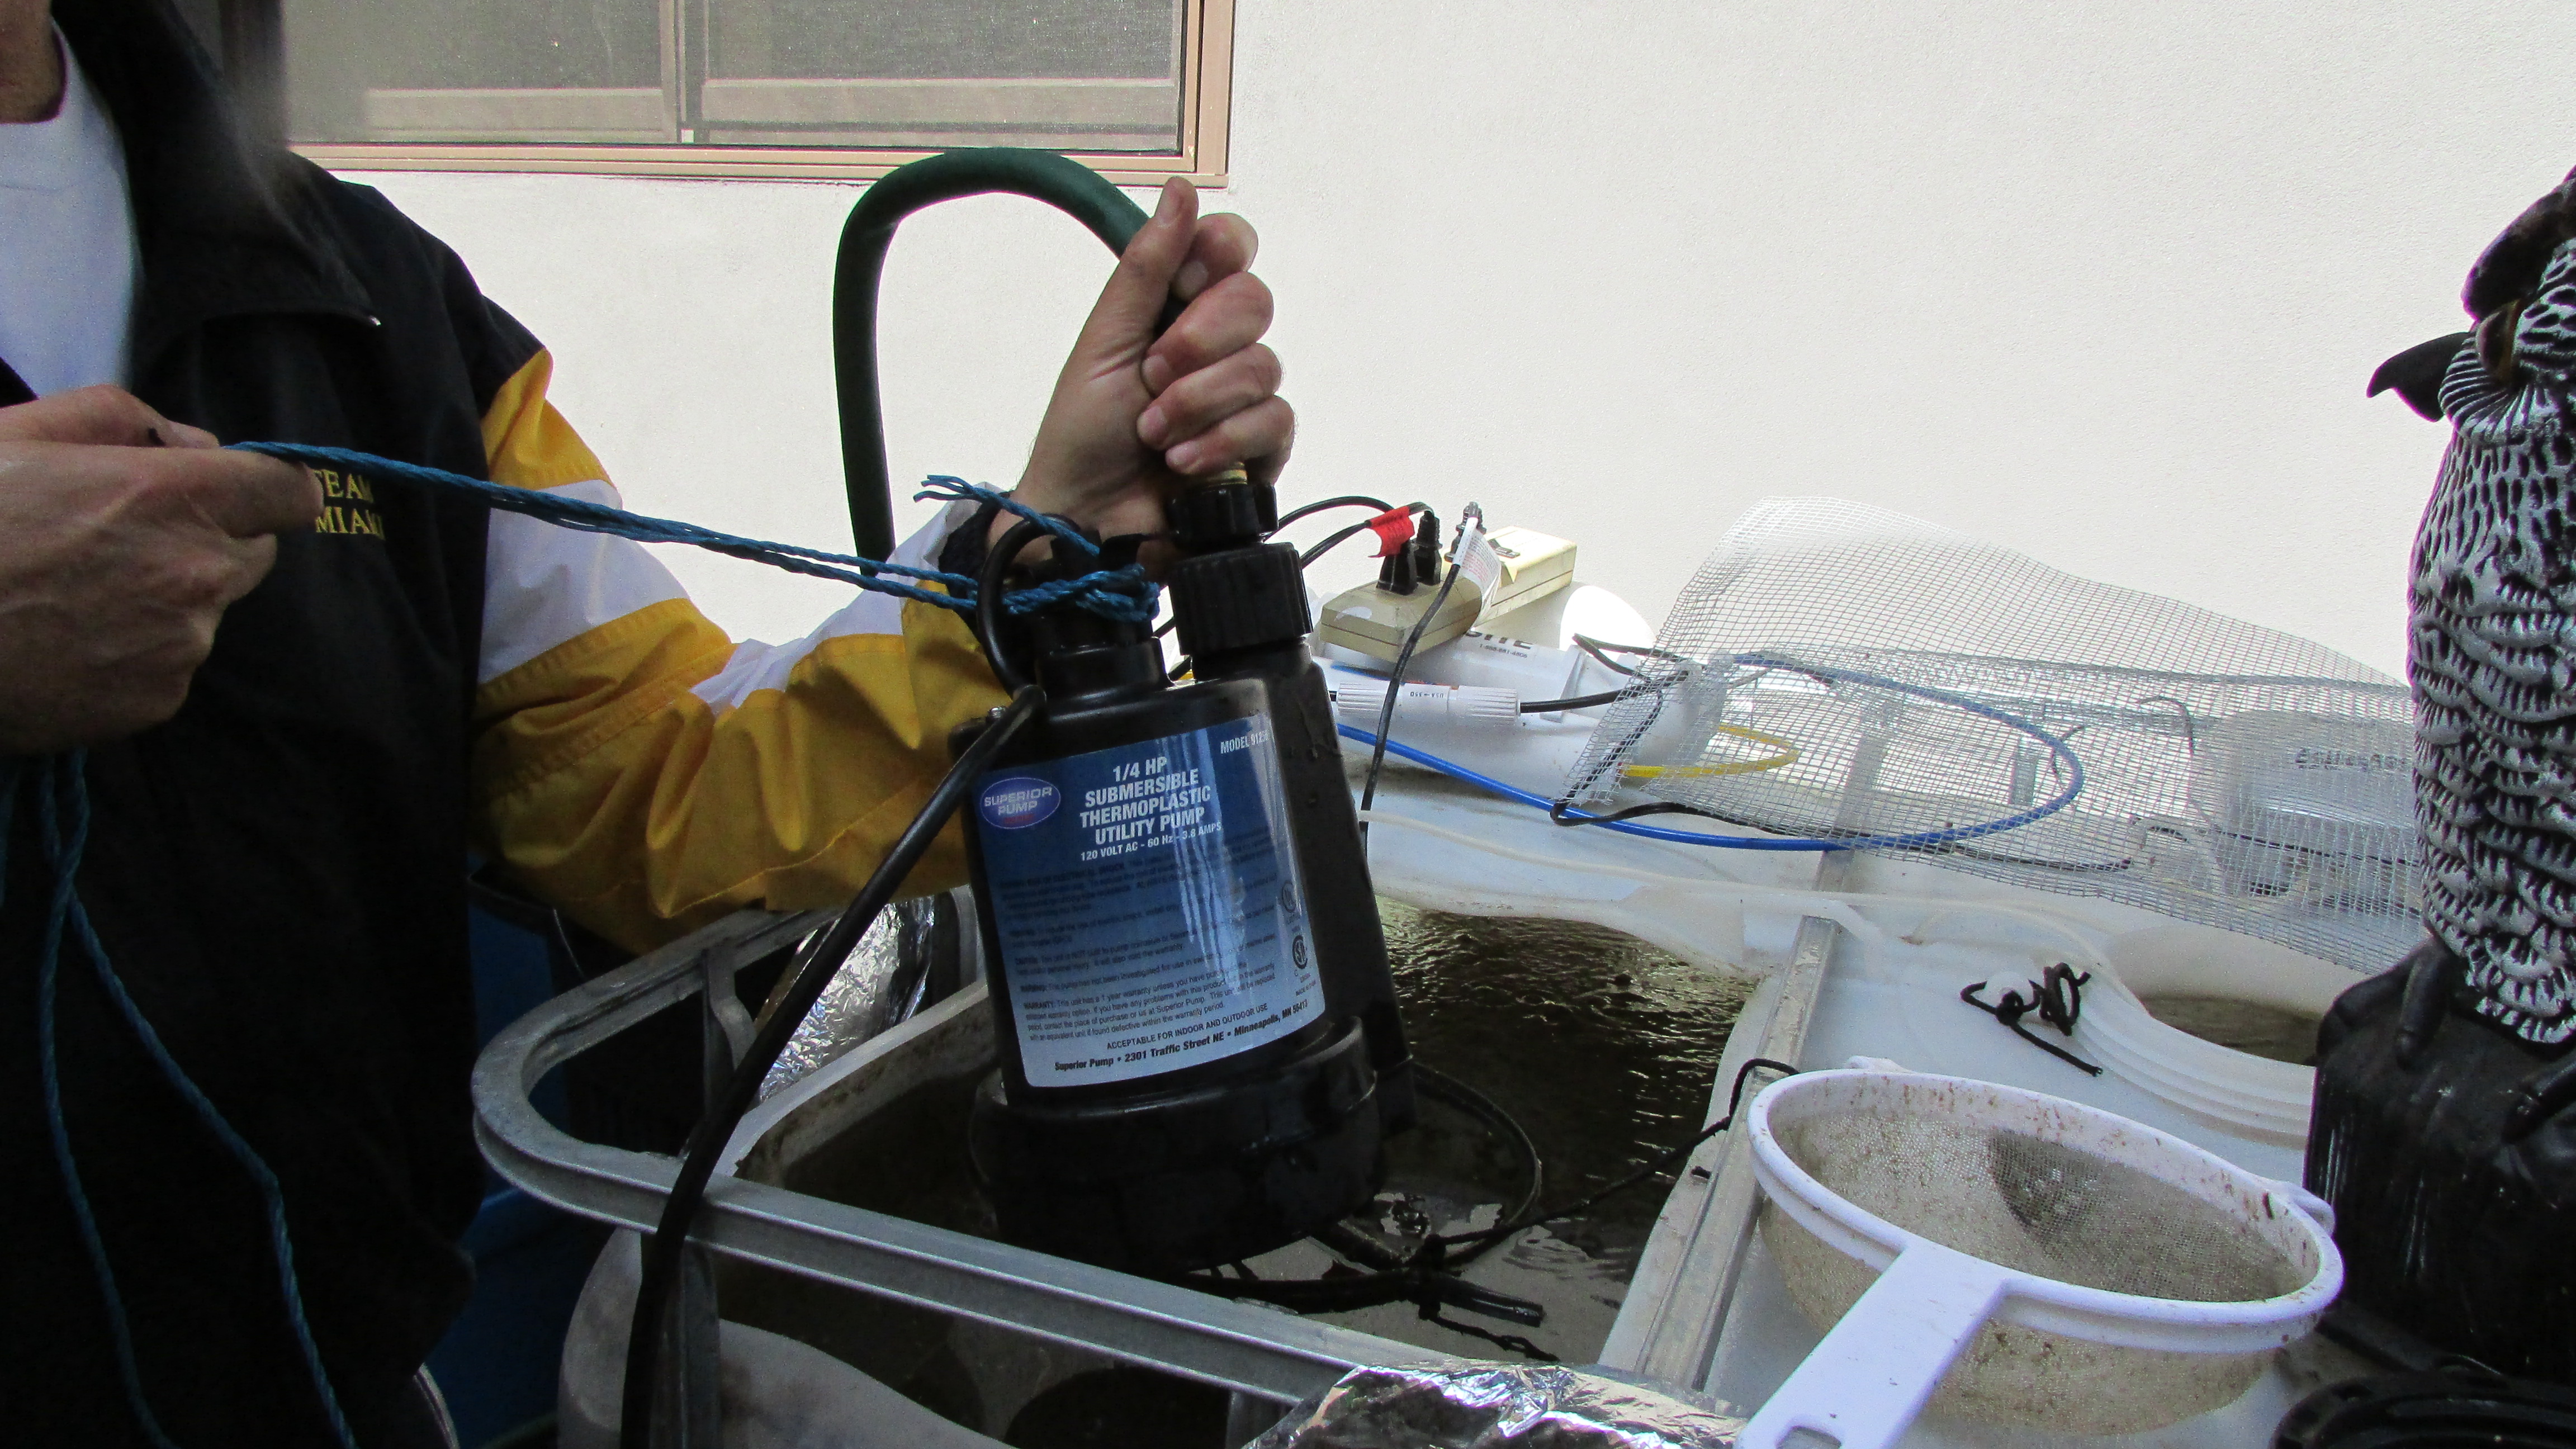
11) Sump pump, a hose, and some buckets ) …I use ‘Superior Pump’ 91250 (1/4 HP submersible thermoplastic utility pump)
The Setup:
First, attain the food grade tote, cut 2 windows (see image below) on the top for fish feeding, observation and maintenance. The tote should be placed in an area that is somewhat sheltered, but yet receives plenty of sunlight. Rinse the tote well, fill with unclorinated (clean water) – the best way to insure the water is clean, is with the reverse ozmosis filter. This is where you test the water for ammonia & chlorine.
Next, connect the pumps with the tubing & aerators, and with the aerators at the bottom, turn on the pumps. Insert your heater, and set water temperature to 82 degrees. To reduce the energy consumption, you can wrap the tote with insulating material.

Run this setup for several days, and place a couple of goldfish (again for several days) to insure the conditions are sufficient for the tilapias survival. If they survive, seed the tank with up to 45 ‘unsexed’ tilapia fingerlings.
Place your floating fish feeder ring & tie it to an outside post so that it is centered under one of your previously cut windows. Fingerlings should be fed 4-5 times/day with enough food to for them to feed for 10 minutes (food should only be placed inside the feeder ring). After 10 minutes remove all uneaten food (as it will cause a spike in ammonia levels in the tank).
As the fish grow, the number of feeding is reduced, the temperature is dropped to 80 degrees, and the protein content of the food is reduced. Weekly water changes must be made, anywhere from 10-20% of the volume of the tank, keeping the ammonia levels as close to zero as possible. The easiest way to do so is with the sump pump, attached to a hose to pump water from the bottom of the tank. The hose then pumps water to your buckets if you wish to use it to fertilize your garden. Replace the vacated water with reverse osmosis or otherwise clean water (make sure to heat the water to similar temperature before re-introducing it).

If you wish to protect the fish from predator birds or jumping out, you can cover the windows of the tote with wire-mesh. You may want to plug your pump into a surge protector with a backup battery, so if your power goes out, the fish do not expire.
Using Duckweed:
I use duckweed, to supplement my fish’s diet. It is a high protein floating aquatic plant that tilapia love. It is not only good for the fish, but it can be easily grown by filling a kiddy pool with fish water (from a water change), and aerating the water. I have added a couple of mosquito fish to keep the somewhat stagnant water from becoming a mosquito breeding ground.

A big advantage of using duckweed as feed is that you do not have to remove any part of what the fish do not eat as it will not pollute the water nor raise the ammonia level.
If you would like to grow your own Tilapia, feel free to e-mail me at [email protected] with any questions you might have.
How to Grow Your Own Tilapia,

 Currently, I know that a number of you have been looking for ozonizers in order to follow my protocol (for prevention of gum disease). They can be found here:

[…] Original post about growing tilapia & fertilizing with fish water […]